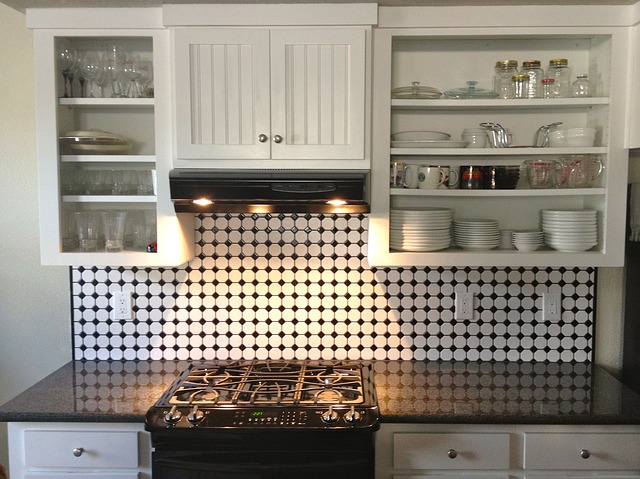
Your Step-By-Step Guide to Installing Tile
 With the holidays coming up and the option for a long weekend or end of the year vacation occuring you may want to update your kitchen. Have you always thought that your kitchen would look amazing with a tile backsplash, but you don't have the funds to pay a professional? Is it going to be just too hot to be outside and you have some free time over the weekend? Fear not, this step-by-step guide has everything you need to know in order to install the tile of your dreams! Not only will this kick your interior up a notch, it will also raise your home's value!
1. Assemble your materials and tools.
These are the typical items that you will need during your project: Gloves, goggles, tile, tile spacers, grout, tile cutter/wet saw, plastic sheet, power drill, ledger board, sponge, cleaning solution, joint compound, joint knife, measuring tape, mixing paddle, notch trowel, permanent marker (optional), buckets. Get it all together ahead of time so that you aren't searching in the middle of the project!
2. Turn off power to the area and remove the outlet covers.
3. Protect damageable surfaces (like countertops and flooring) with plastic sheets. Secure everything with painter's tape.
4. Pull out any appliances that sit against the soon-to-be-tiled wall.
5. Level and secure a ledger board where the tile will end (about 1 foot below counter level).
6. Clean the wall.
Wipe down the wall with cleaning solution. If the surface is glossy, you should sand it before tiling. If there are any dents or dips in the wall surface, level it with joint compound.
7. If you have a symmetrical pattern in mind for the tile, make sure to mark the center of the wall.
8. Mix the thin-set mortar and apply some to the wall.
Start at the bottom (above the ledger board). Be careful not to cover any reference lines you have drawn on the wall.
9. Start tiling!
Press your first piece of tile into the mortar using a slight twisting motion. Gently press on the tile with a rubber grout float to make sure it is firmly set in place.
10. Continue tiling
Continue setting tiles one row at a time. Remember to leave a 1/8 inch expansion gap around the outer edges of the tile and to check that the tiles are level often! You will almost certainly need to cut edge tiles with a wet saw to make them fit into corners, against cabinets, or around counters. "Measure twice, cut once" helps here!
11. Wait for the mortar to set.
Wait 24 hours or however long the mortar manufacturer recommends.
12. Mix and apply the grout.
Use the rubber float to force the grout into all of the spaces between tiles. This is easier when moving at an angle to the spaces.
13. Wait 10 minutes, then wipe away excess grout with a damp sponge.
A haze may form over the tiles as they dry, but this can be easily removed with haze remover.
14. Allow the grout to dry according to the manufacturer's directions.
Afterward, apply grout sealer, remove tape and plastic, replace outlet covers, and apply caulk to the expansion gap along the counters.
Congratulations, you're done! Take a moment to admire your handiwork!
If you would like a detailed video of the steps outlined above, check out this great video from Lowe's.
- Cheryl Bourland's blog
- Login or register to post comments
 Google+


 Information Deemed Reliable but Not Guaranteed. CENTURY 21 H.S.V. Realty is licensed in the state of Arkansas. CENTURY 21 and the CENTURY 21 Logo are registered service marks owned by Century 21 Real Estate LLC. H.S.V. Realty, Inc. fully supports the principles of the Fair Housing Act and the Equal Opportunity Act. Each franchise is independently owned and operated. Any services or products provided by independently owned and operated franchisees are not provided by, affiliated with or related to Century 21 Real Estate LLC nor any of its affiliated companies.